Questioning as feedback
Questioning is a valuable tool to use for Step 4: Feedback.
Questioning is one of the quickest and simplest ways to give and receive feedback. Verbal feedback through questioning is very effective, and it means that you can provide feedback for the whole class within minutes.
Not all types of questioning are equally effective. Simple ‘hands up’ questioning has little effect on most students, because they don’t process their own answer but rather listen to another student’s answer.
The key is to make sure that the questioning techniques gives the students thinking time, and requires all students to participate.

How does questioning work in practice?
Here are eight different techniques for questioning as feedback. They are listed roughly in order of effectiveness, starting with the most effective down to the least effective.
![]() Technique 1: Assertive questioning
Technique 1: Assertive questioning
This technique involves group discussion which feeds into a whole class discussion. It is sometimes called ‘pose, pause, pounce, bounce’. You pose a question, pause to allow thinking time, pounce on a group or pair, and then bounce the question to another group or pair.
Divide your students into small groups or pairs and get them to work on a thought-provoking question. Ask individuals to give their group’s answer (you could nominate them or have volunteers). After hearing all of the groups’ answers, encourage the class to discuss the different answers in order to reach a consensus.
When the class has agreed on an answer, you can then reveal the correct answer. Don’t give anything away before this point – your role up until the consensus has been reached is to facilitate and promote discussion.
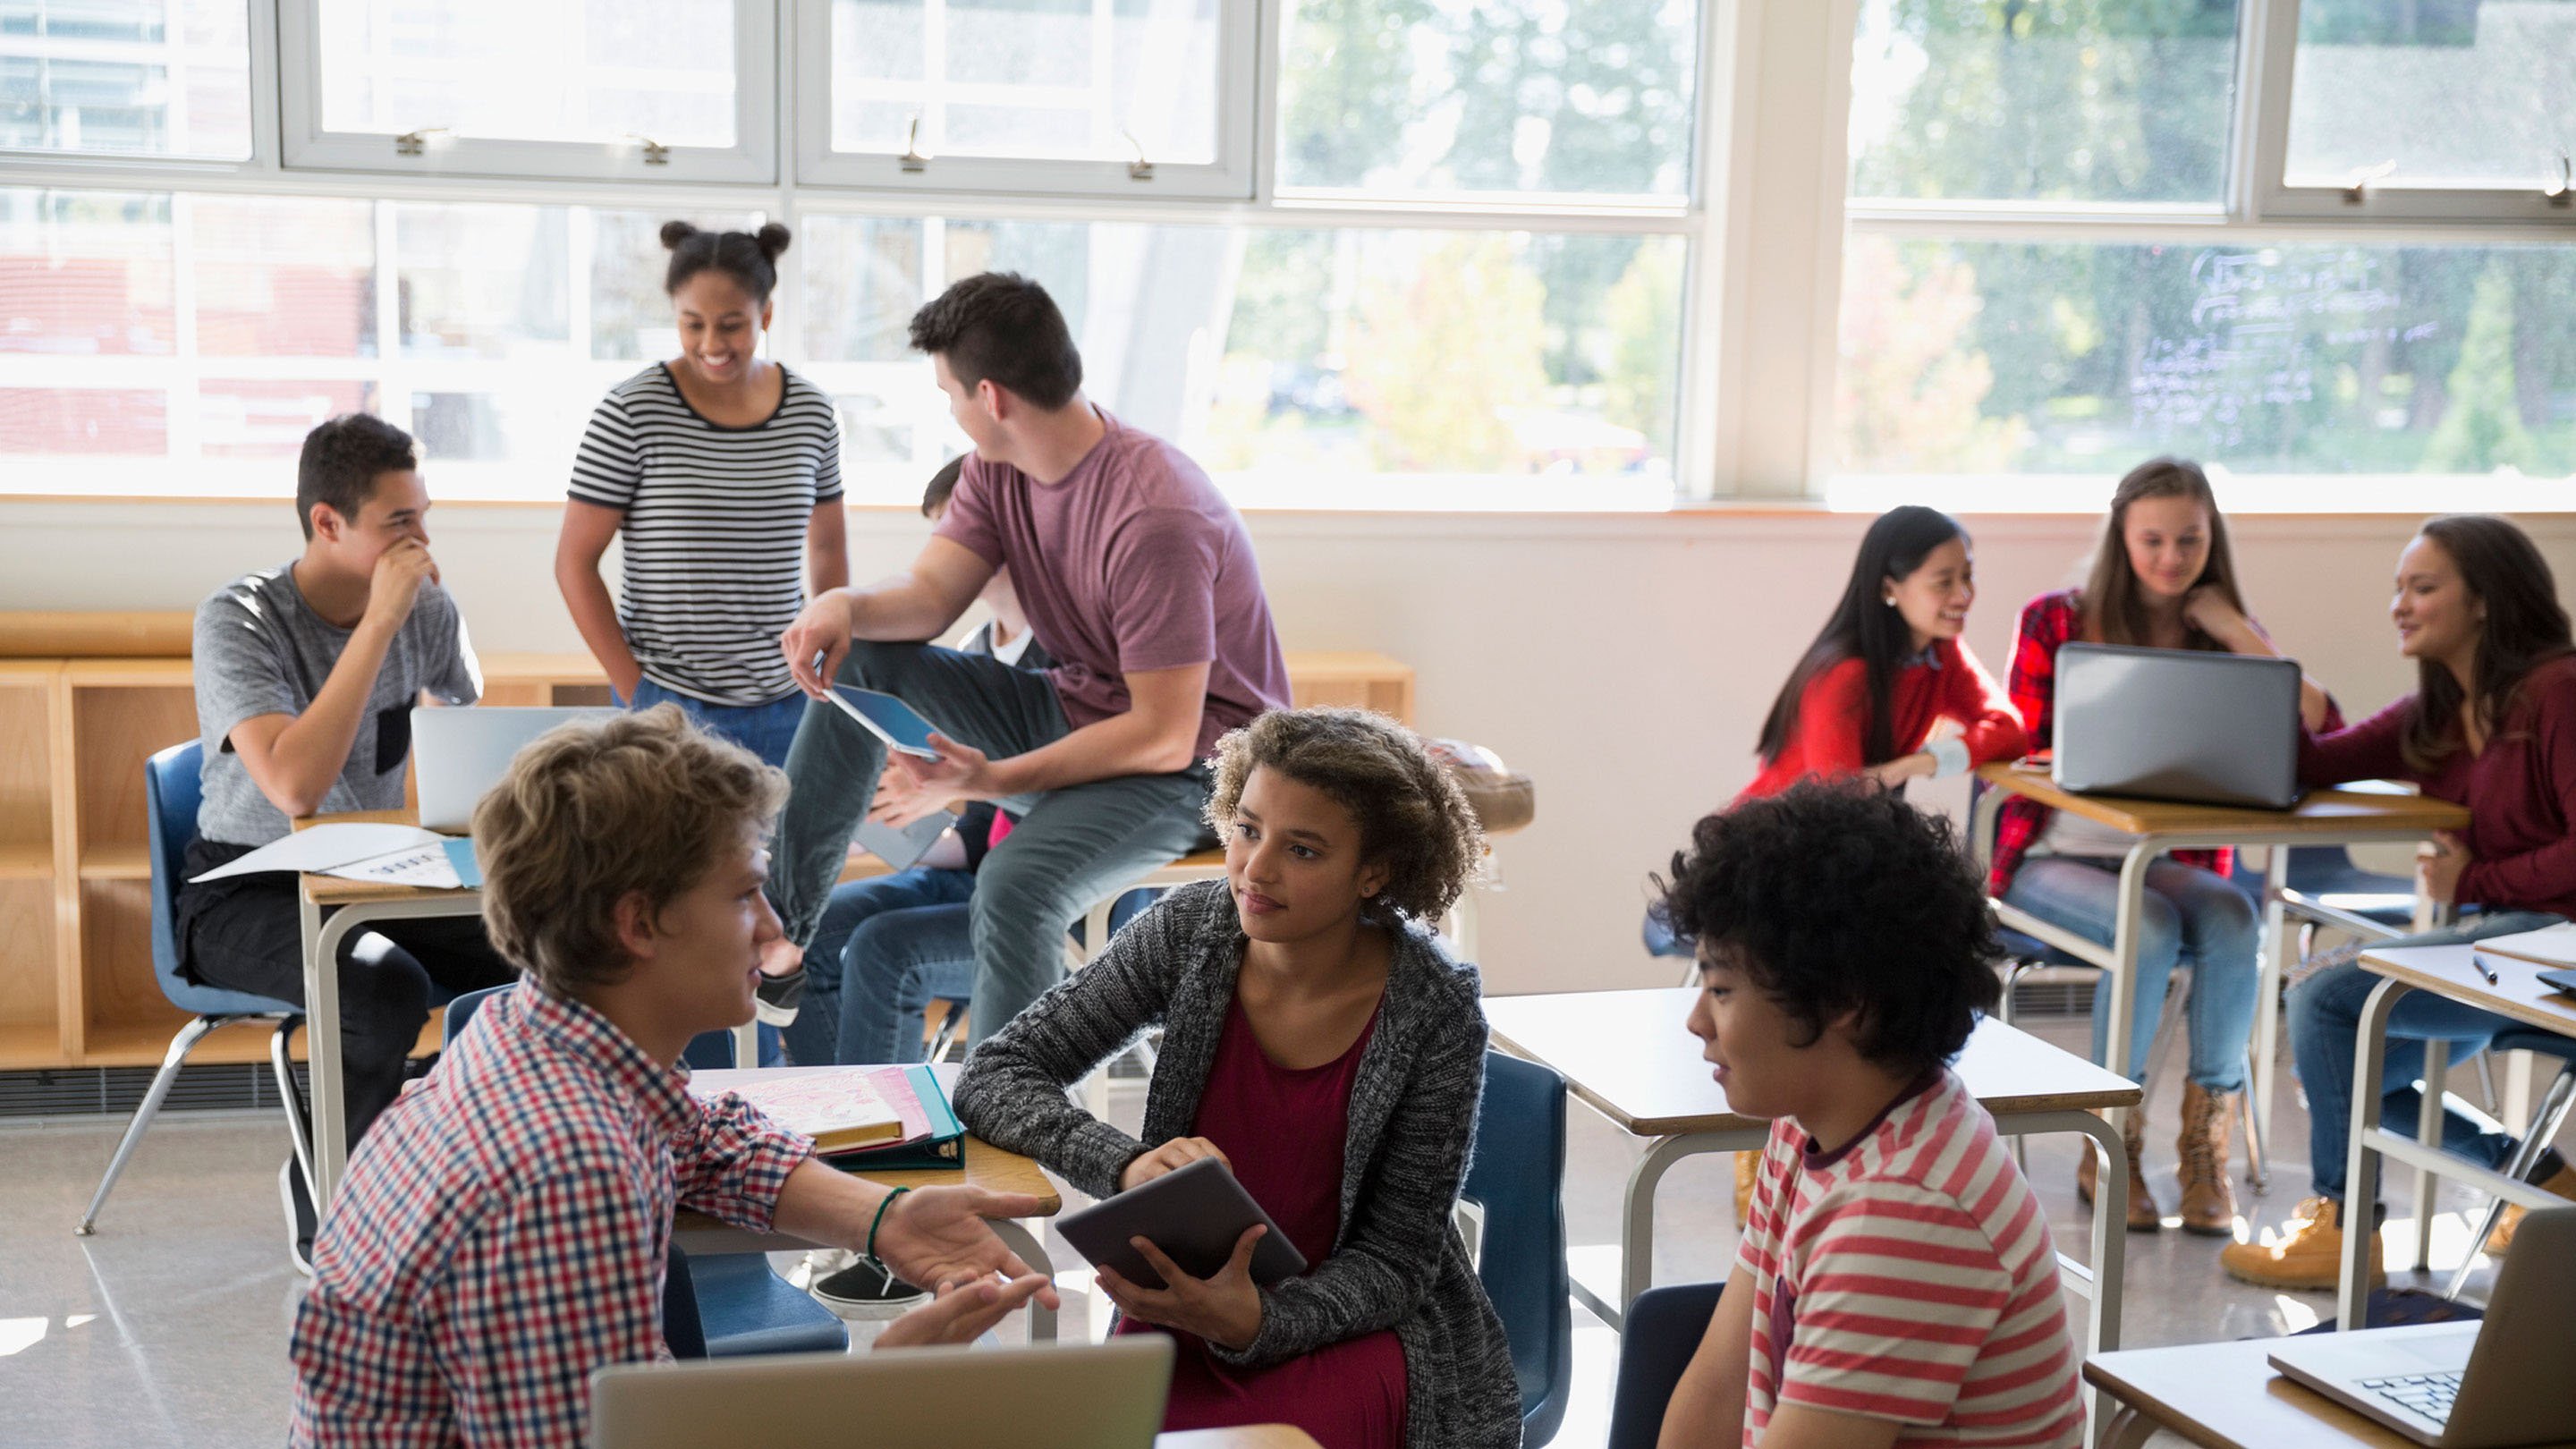
Assertive questioning ensures that every person is involved and actively participating. It’s also less stressful for students, because they are given time to think about their answer and to discuss it with their partner or group.
From your point of view, you get an excellent overview of whether the class has understood the question or topic – without having to write or mark tests! Here is what might happen:
.
- The class might agree, which gives you confirmation that they have understood the topic.
- They might initially disagree but then reach a consensus, which provides an environment for students to reach an understanding of the topic and correct any misunderstandings.
- They might disagree and not reach a consensus, or reach an incorrect consensus. In which case, you can examine why the students haven’t understood the topic and take steps to work on prior knowledge or approach the new learning in a different way.
![]() Technique 2: Q&A nominees (basketball version)
Technique 2: Q&A nominees (basketball version)
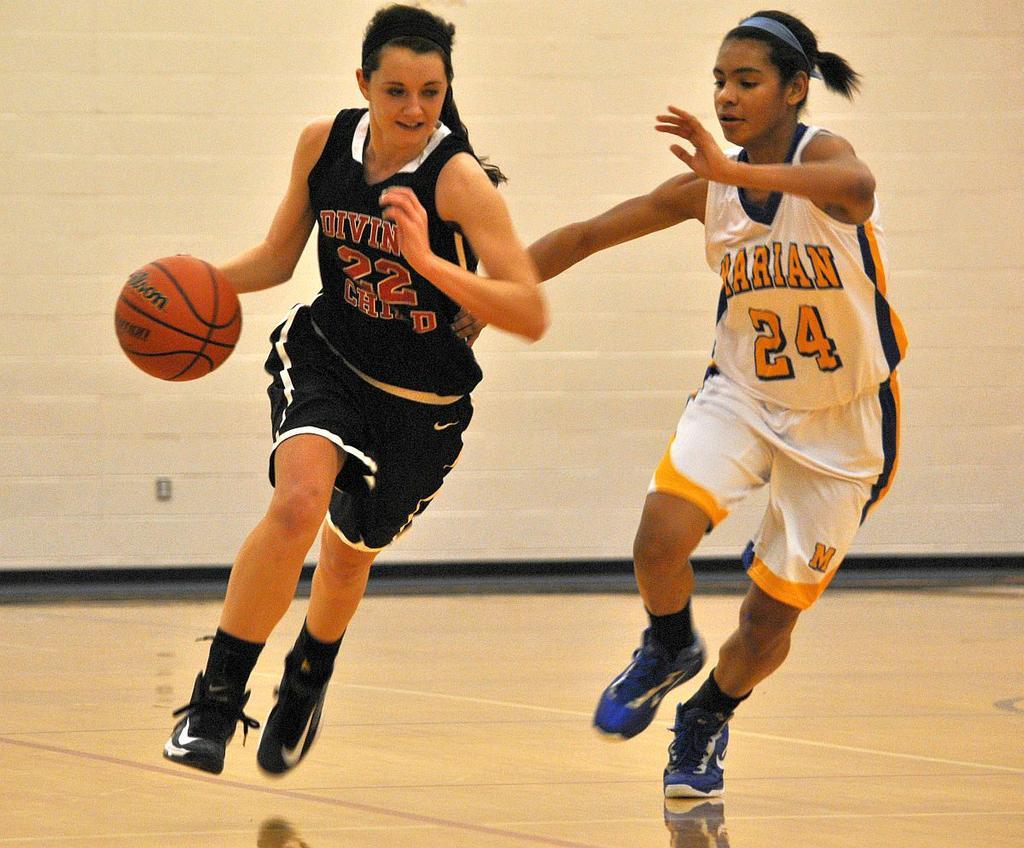
This is an alternative version to the two Q&A techniques lower down the list.
You nominate a student for an answer, and then ask another student what they think of that answer, and another, and another. You could also ask “Who agrees/ disagrees with that answer?” and then nominate a student to say why they agree or disagree.
This technique is very similar to assertive questioning, but instead of working with small groups or pairs, you bounce between individuals.
![]() Technique 3: Pair checking
Technique 3: Pair checking
You ask a question and the students work individually to answer it. The students then compare their answers in pairs. Each student has to say something positive about their partner’s answer and one thing that would improve it.
You then give the correct answer. This can be followed up either by more pair work, suggesting another improvement, or by combining pairs into groups of four to compare their answers.
It’s important to listen to your students’ conversations throughout this process and work to facilitate and scaffold discussion.
![]() Technique 4: Mini whiteboards
Technique 4: Mini whiteboards
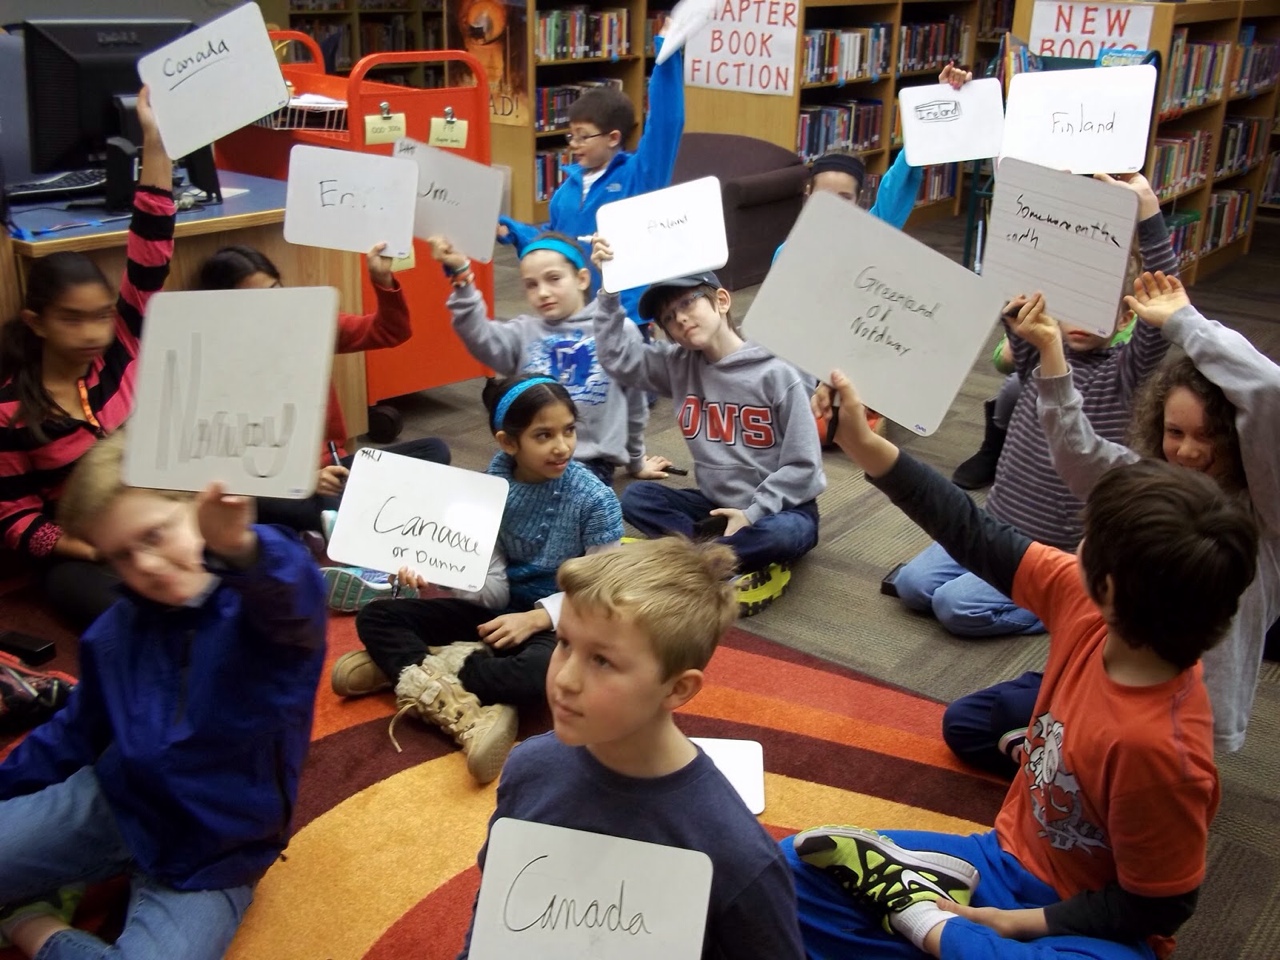
Give your students A4 whiteboards or laminated card and dry-wipe pens. You ask a question, and the students write their answers. Wait until all the students have an answer and then ask them to hold up their answers at the same time.
The students then look to see what others have written, and you can survey the boards to see what answers were given and clarify any misunderstandings.
The clip below shows mini whiteboards being used in a Spanish lesson.
One objection to mini whiteboards is that they are too much hassle to hand out and take in afterwards, and another objection is that some students write rude things on their boards! However, they are an effective learning tool and it is usually worth the hassle.
Another objection is that students can cheat by copying their neighbour’s answer. However, even cheating is an effective learning process here: Which neighbour to copy? Are they right? Why have they written that? Is my answer better?
![]() Technique 5: Buzz groups (nominees answer)
Technique 5: Buzz groups (nominees answer)
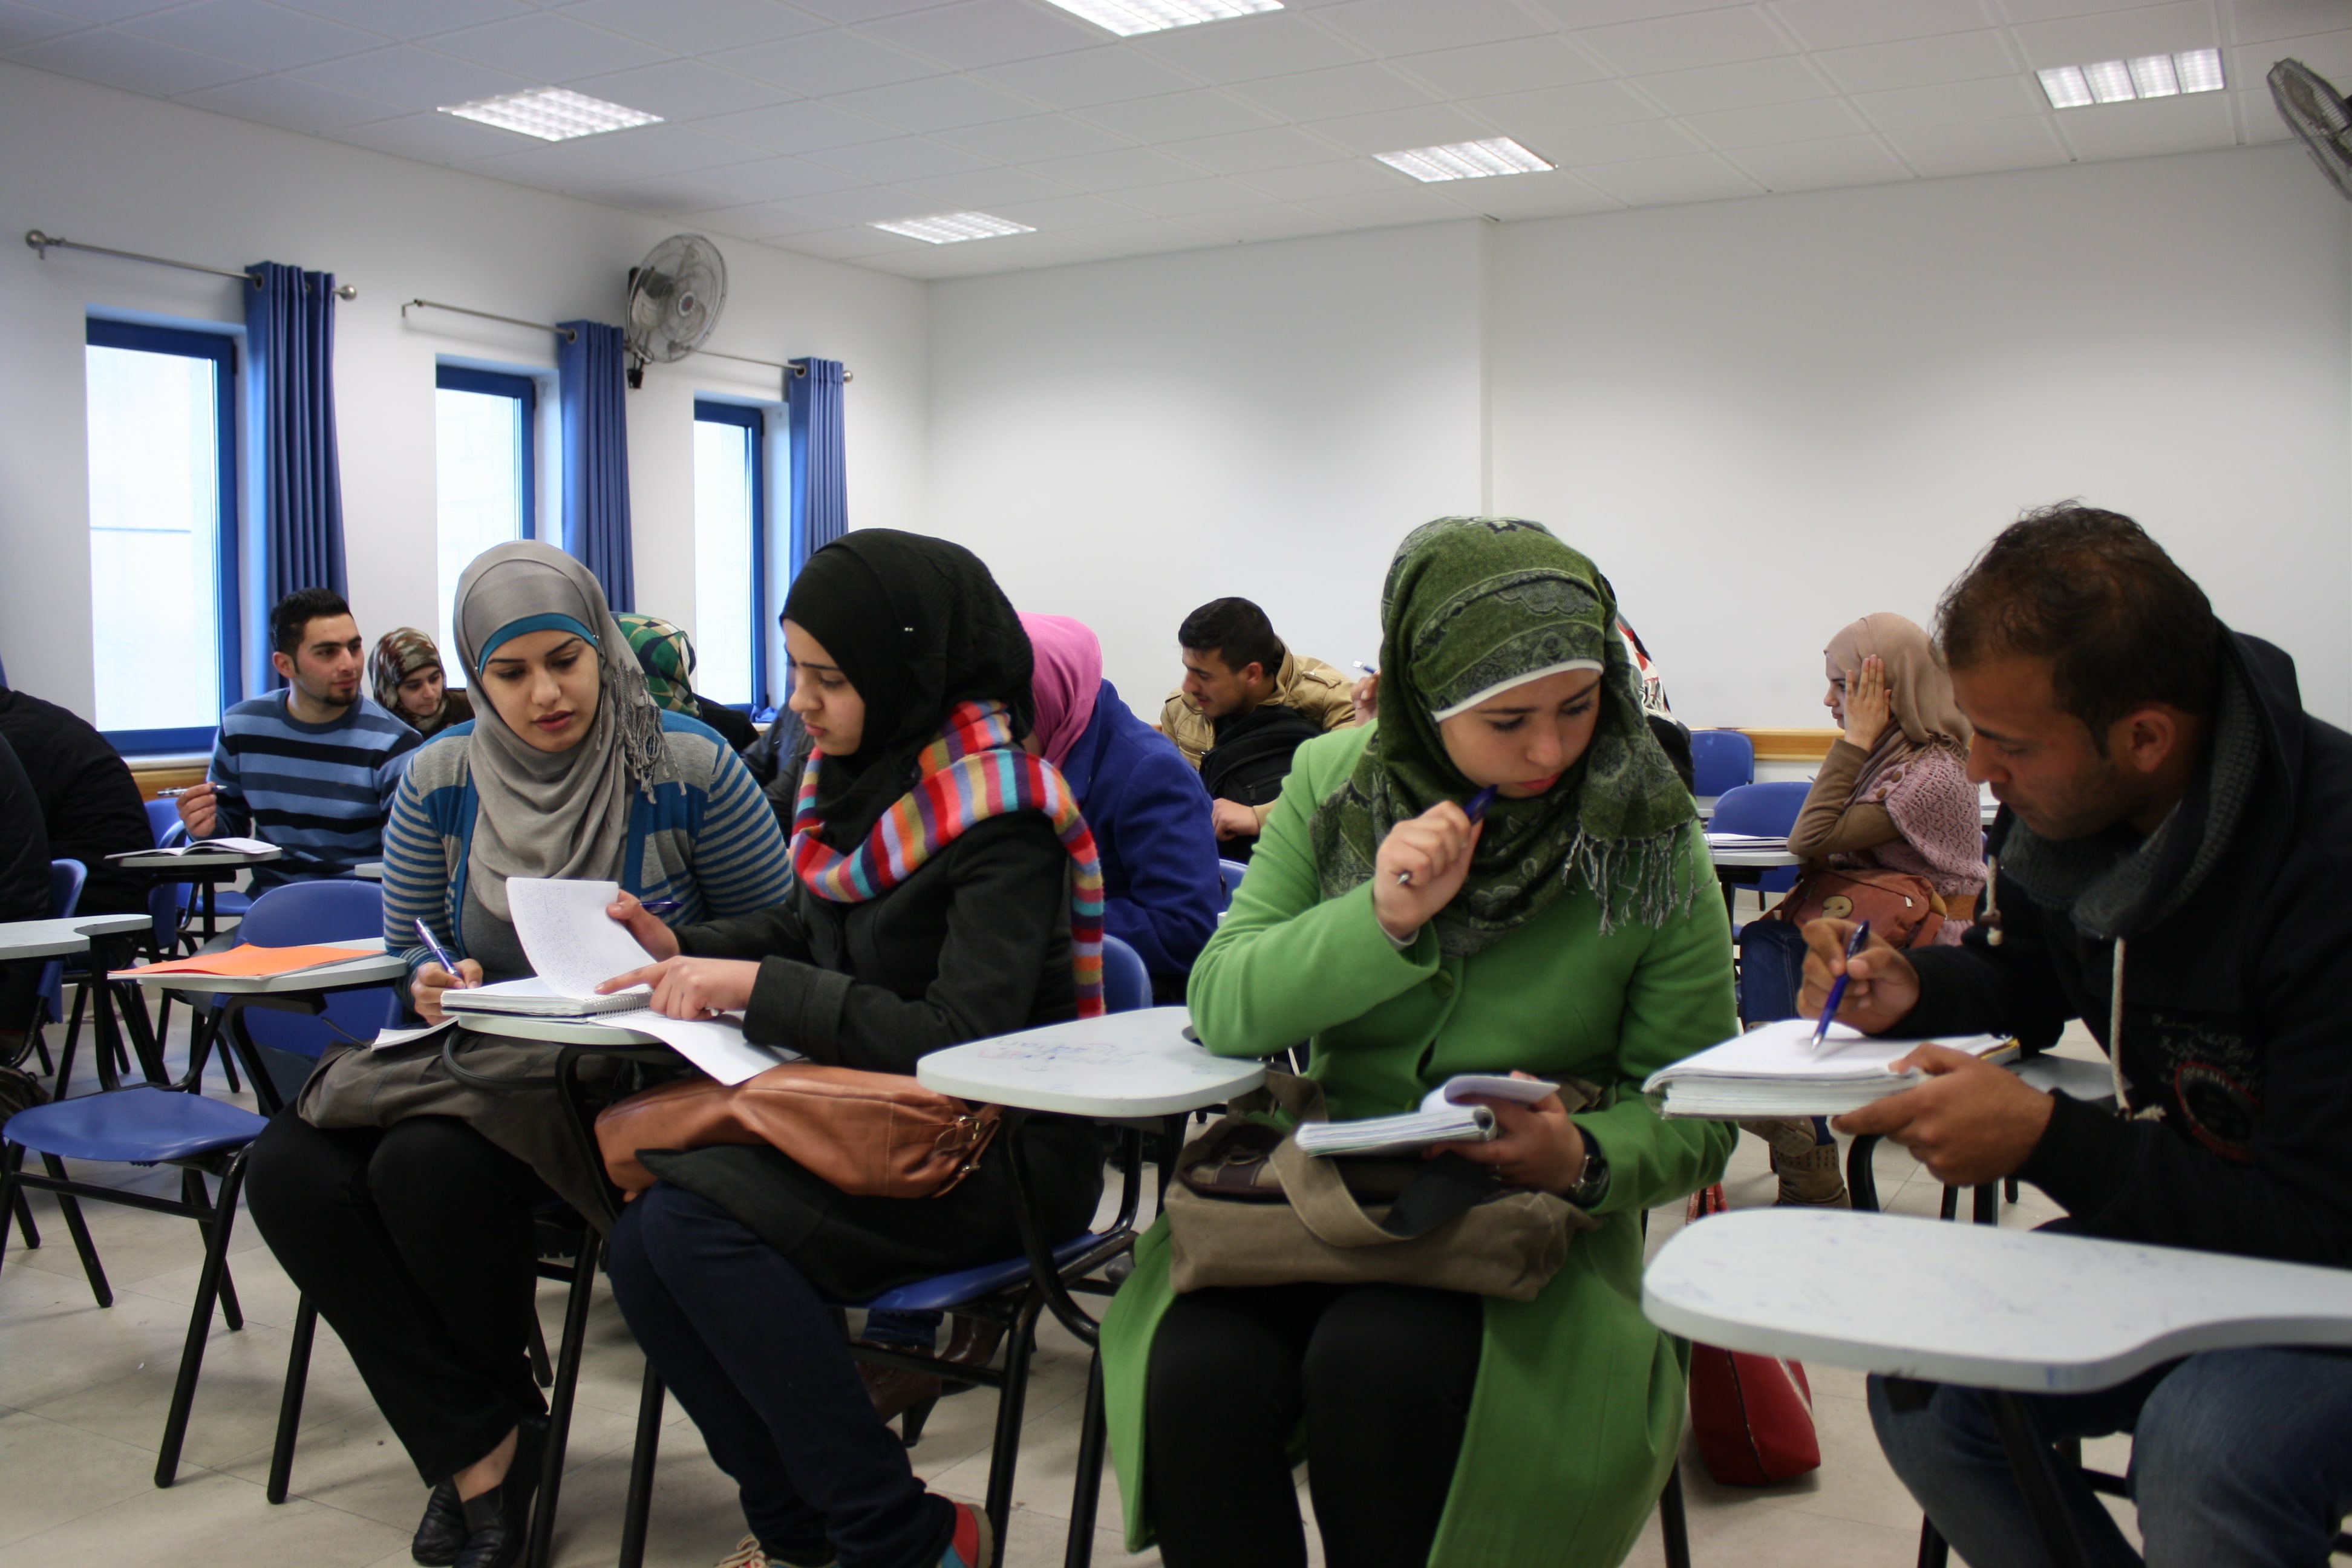
Students work in small groups or pairs to answer a thought-provoking question, to do a calculation, or a similar task.
After the group discussion, you nominate a student in each group to share their group’s answer with the class. This encourages all students to participate, as any of them could be chosen to explain their group’s answer.
![]() Technique 6: Buzz groups (volunteers answer)
Technique 6: Buzz groups (volunteers answer)
Students work in small groups or pairs to answer a question or do a task. After the discussion, you ask each group in turn to share one part of their answer. For example, you might ask for one advantage of the topic discussed. A volunteer from each group shares their group’s answer.
![]() Technique 7: Q&A (nominees answer)
Technique 7: Q&A (nominees answer)
You nominate students to answer your questions. This is sometimes called ‘pose, pause, pounce’. You pose the question, pause to allow thinking time, and then pounce on an individual to answer.
![]() Technique 8: Q&A (volunteers answer)
Technique 8: Q&A (volunteers answer)
You pose a question and students volunteer to answer the question. This is usually done with ‘hands up’ but students can also call out their answer. If more than one students volunteers, you choose who will answer.
The thinking time between the question and answer is usually very short. This technique often has a low participation rate because students learn that they will not be asked to contribute if they don’t volunteer. Additionally, students who call out the answer reduce the thinking time of other students.

Image credits
Header image: http://www.sheknows.com/parenting/articles/1095235/things-learned-from-teachers
Lightbulb image: http://www.iconsdb.com/blue-icons/idea-icon.html
Image of a teacher asking a question: http://autodo.info/pages/a/asking-questions-in-class/
Image of students working in small groups: https://www.edutopia.org/article/science-of-effective-learning-spaces-melina-uncapher
Image of two students playing basketball: http://sammlungfotos.online/brandssdwn-soccer-field-with-ball-tumblr.htm
Image of students working in pairs: http://teflon.adtddns.asia/work-strengths-and-weaknesses.html
Image of students holding up mini whiteboards: https://www.thinglink.com/scene/544419778773647361
Image of students working in buzz groups: http://www.queensu.ca/teachingandlearning/modules/active/12_exmples_of_active_learning_activities.html
Image of students with their hands up: http://www.masterfile.com/search/en/student+hands+up+in+back+view